Car maintenance doesn’t have to be a daunting task. One of the simplest and most rewarding DIY projects you can tackle is changing your car’s oil and filter. Regular oil changes are crucial for maintaining engine health and performance, and doing it yourself can save you money on mechanic visits. This guide will equip you with the knowledge and confidence to perform this essential maintenance task at home.
Before You Dive In Gearing Up for the Change
Preparation is key to a successful oil change. Here’s what you’ll need to gather:
- Fresh Engine Oil: Consult your car’s owner’s manual for the recommended oil type and viscosity. Get enough oil for a complete oil change (typically around 4-5 quarts).
- Oil Filter: Purchase a high-quality oil filter specifically designed for your car make and model.
- Drain Pan: A large, shallow pan to catch the used oil is essential.
- Socket Wrench and Oil Filter Wrench: The specific size will depend on your car. Consult your owner’s manual or refer to the filter itself for the correct size.
- Funnel: A funnel helps avoid spills when pouring new oil into the engine.
- Gloves and Rags: Protect your hands and workspace from oil spills.
- Safety Glasses: Always wear safety glasses to protect your eyes from splashes.
- Jack and Jack Stands (Optional): While not always necessary, these provide added stability and safety when raising your vehicle.
Finding Your Flow: Locating the Drain Plug and Oil Filter
Once you have your supplies, familiarize yourself with your car’s engine compartment. Pop the hood and consult your owner’s manual to locate the oil drain plug and oil filter. The drain plug is typically a bolt located on the underside of the engine oil pan. The oil filter might be on the engine block itself or near the oil pan.
Safety First: Warming Up and Preparing the Engine
Before you begin draining the oil, it’s important to warm up the engine for a few minutes. Warm oil flows more easily, allowing for a more complete draining process. Turn off the engine and engage the parking brake before proceeding.
Let it Flow: Draining the Used Oil
- Place the drain pan directly underneath the oil drain plug.
- Using the socket wrench (appropriate size), loosen the drain plug counter-clockwise (lefty-loosey). Don’t remove it completely yet.
- Once loosened, carefully remove the drain plug to allow the oil to drain. Be prepared for a stream of hot oil – letting the engine cool slightly beforehand can help minimize this.
- Allow the oil to drain completely into the drain pan. This can take several minutes.
- While the oil is draining, replace the old oil filter with the new one. Use the oil filter wrench to loosen the old filter (counterclockwise) and remove it by hand. Be careful, as some used oil may remain in the filter.
- Apply a thin coat of fresh oil to the gasket of the new filter before screwing it on by hand. Once hand-tight, use the filter wrench to tighten it snugly, but don’t over-tighten.
Refueling Your Engine: Adding Fresh Oil
- Once the used oil has completely drained, replace the drain plug with a new washer (if applicable) and tighten it securely with the socket wrench. Don’t over-tighten, as this can strip the threads.
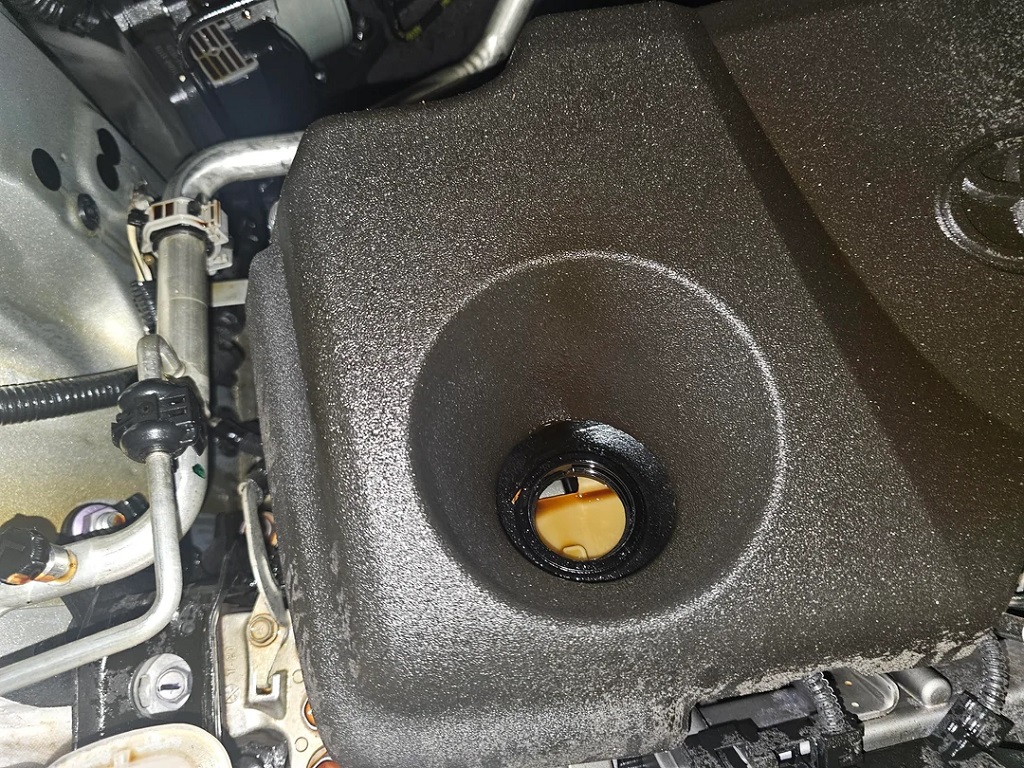
- Locate the oil fill cap on your engine and remove it.
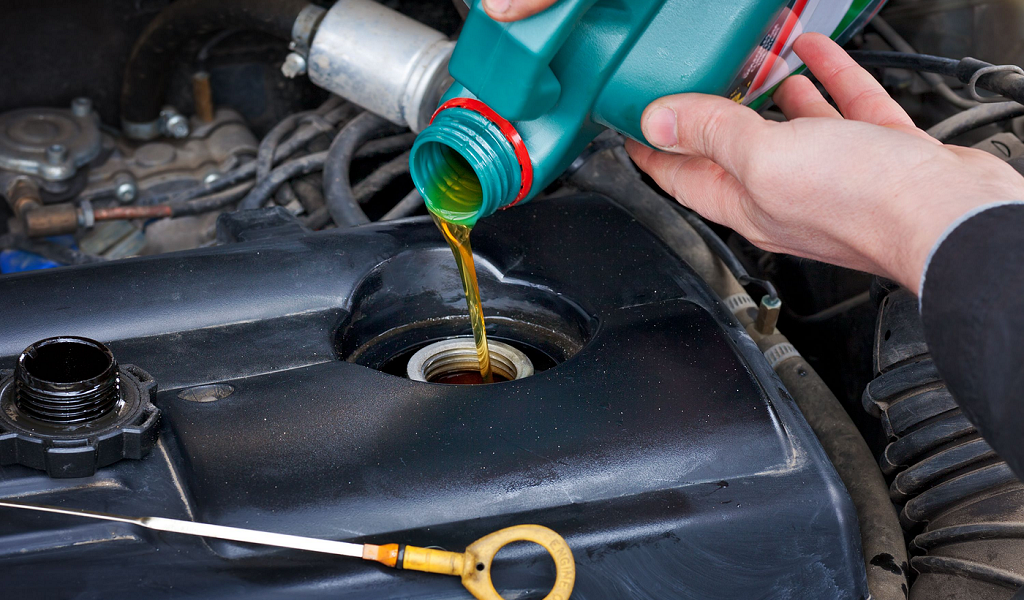
- Using the funnel, carefully pour the fresh oil into the engine. Refer to your car’s owner’s manual for the exact oil capacity.
- Add oil gradually and check the dipstick frequently to monitor the oil level. Stop adding oil once the level reaches the “full” mark on the dipstick.
Double-Checking Your Work: Ensuring a Successful Change
- Once you’ve added the new oil and replaced the oil fill cap, wipe off the dipstick with a clean rag and re-insert it fully. Then, remove it again and check the oil level. The oil level should be between the “full” and “add oil” marks on the dipstick.
- Visually inspect the area around the oil drain plug and filter for any leaks. Start the engine and let it run for a few minutes. Then, turn it off and check again for leaks around the drain plug and filter.
Waste Not, Want Not: Disposing of Used Oil Responsibly
Used oil is a hazardous waste and shouldn’t be poured down the drain.
Many auto parts stores and repair shops offer free used oil recycling programs. Take advantage of these services to dispose of your used oil responsibly.
Keeping Records: Documenting Your DIY Success
Maintaining a car maintenance log is a good practice. Note down the date, mileage, and type of oil used during your oil change. This information will be helpful for future reference and ensure you stay on top of your car’s maintenance schedule.

Advanced Tips for the Savvy DIYer
- Oil Change Intervals: Consult your owner’s manual for the recommended oil change intervals based on your car’s make, model, and driving habits. Typical intervals range between 3,000 and 7,500 miles.
- Synthetic vs. Conventional Oil: Synthetic oil offers superior performance and longer intervals between changes compared to conventional oil. However, it’s typically more expensive. Refer to your owner’s manual for the recommended oil type.
- Resetting the Oil Change Reminder Light: Some cars have an oil change reminder light that illuminates after a certain mileage. Consult your owner’s manual for instructions on how to reset this light after performing an oil change yourself.
Safety Matters: Important Considerations
- Always work in a well-ventilated area. Oil fumes can be harmful, so ensure proper ventilation in your workspace.
- Be mindful of hot oil. Wear gloves and avoid contact with hot oil to prevent burns.
- Use jack stands for added safety (optional). If you choose to raise your car using a jack, always use jack stands for added stability and to prevent the car from falling.
- Proper disposal of oil filters and rags. Oil filters and oil-soaked rags should be disposed of responsibly at a designated recycling facility.
Related: The Best Oil Filter Brands to Avoid
The Rewards of DIY: Saving Money and Gaining Knowledge
Changing your car’s oil and filter at home is a rewarding experience. Not only will you save money on mechanic visits, but you’ll also gain valuable knowledge about your car’s maintenance needs. By following these steps and prioritizing safety, you can confidently conquer this essential DIY car care task.


